Our editor automatically sets a font size depending on the length of the text and the size of the box you set. This can lead to having different font sizes across badges.
If you wish to have more control on the font size we can enable you a hidden tool. Send us an email.
It acts as a “maximum” font size, so if some very long text cannot fit in the size you set, it will still automatically shrink. But it gives you a way to prevent very short text from growing much larger than long text.
Our advice is to leave the font size automatic.
With that in mind, please proceed to:
1. Set a maximum font size for the longest text so that it fits the desired box size.
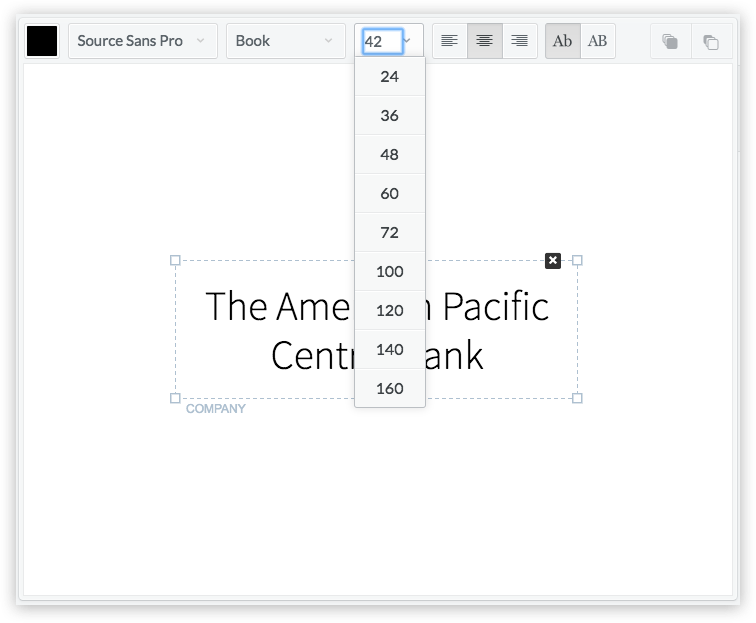
Look for the longest text in all your badges, one by one. For example let's say the longest one you have is "The American Pacific Central Bank"
Set a font size that fits the size of the box you set, in this case it is size 42.
Now, if you find a badge with short text, the font size will be the same as the one with the longest text. It will be the same case for all others in between.
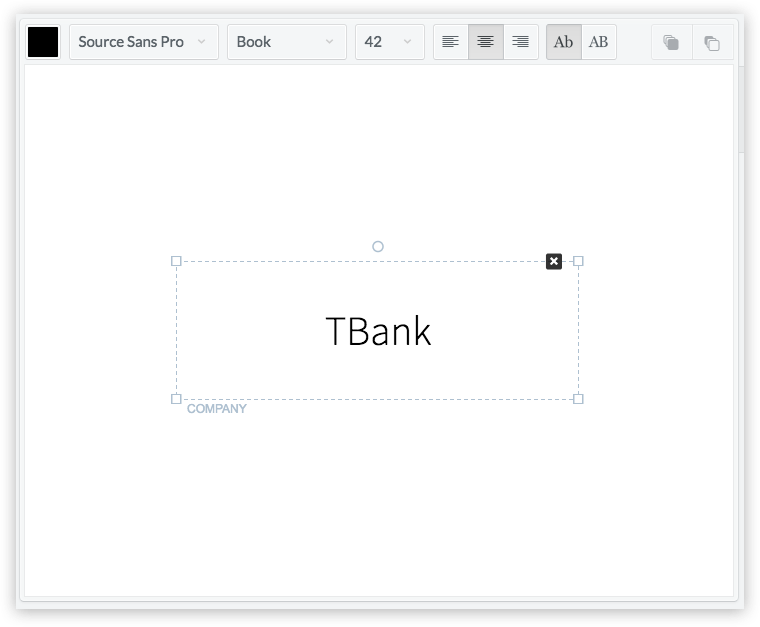
This wouldn't have happened if you hadn't set the maximum font size.
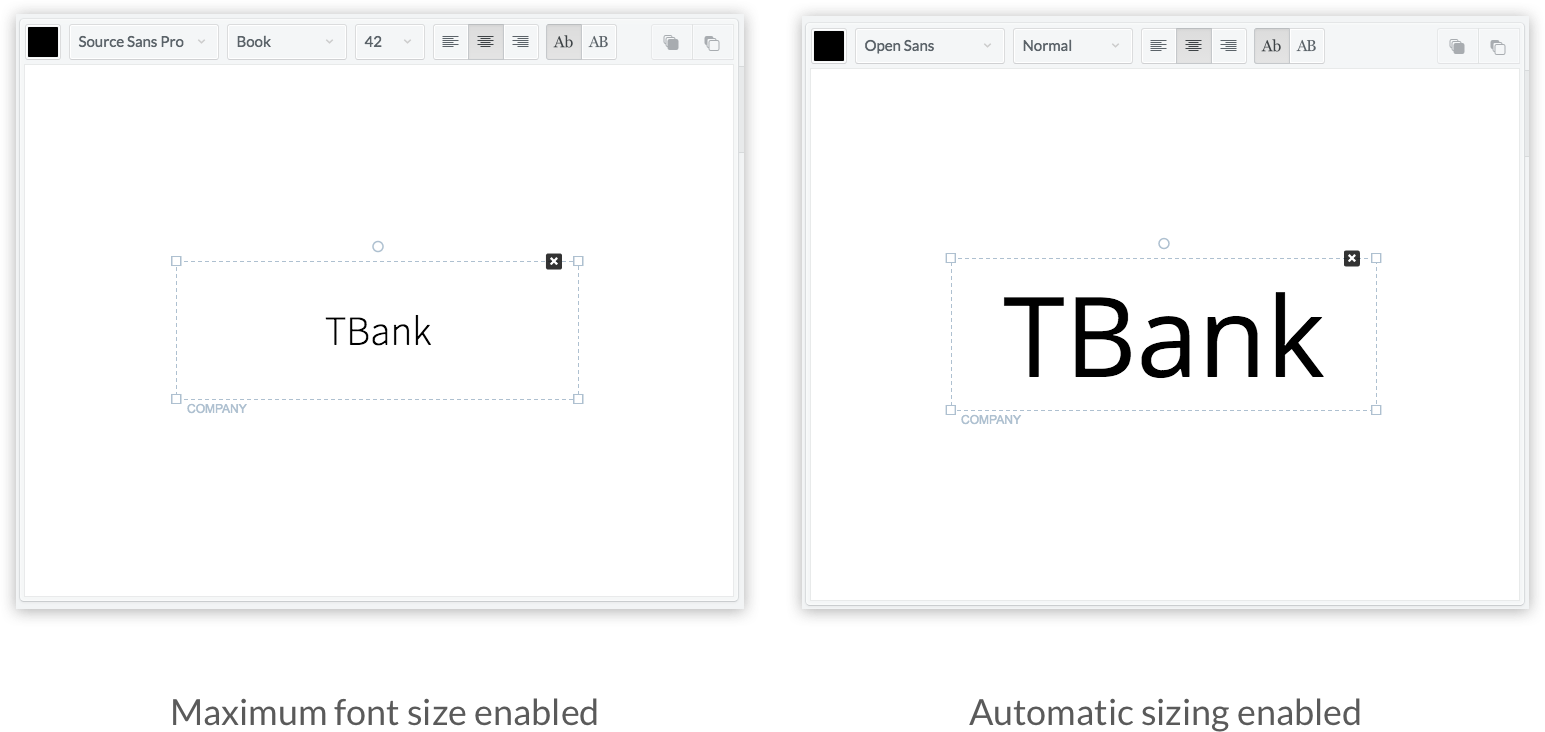
Below you can see a comparison of the maximum font size versus automatic sizing.
Both have the same box size, but one sizes automatically and the other has a maximum font size of 42.
2. Repeat for all other information (eg. name, last name, city, etc).
In this tutorial we used the company field as an example.
Note: You cannot edit badge by badge. The changes you make on one will be applied to all the others.
Back to print name badges or create a new account.